ij.start.canon| connect with device’s| connect your printer

What is the first step you should take when setting up a new Canon printer with ij.start.canon?

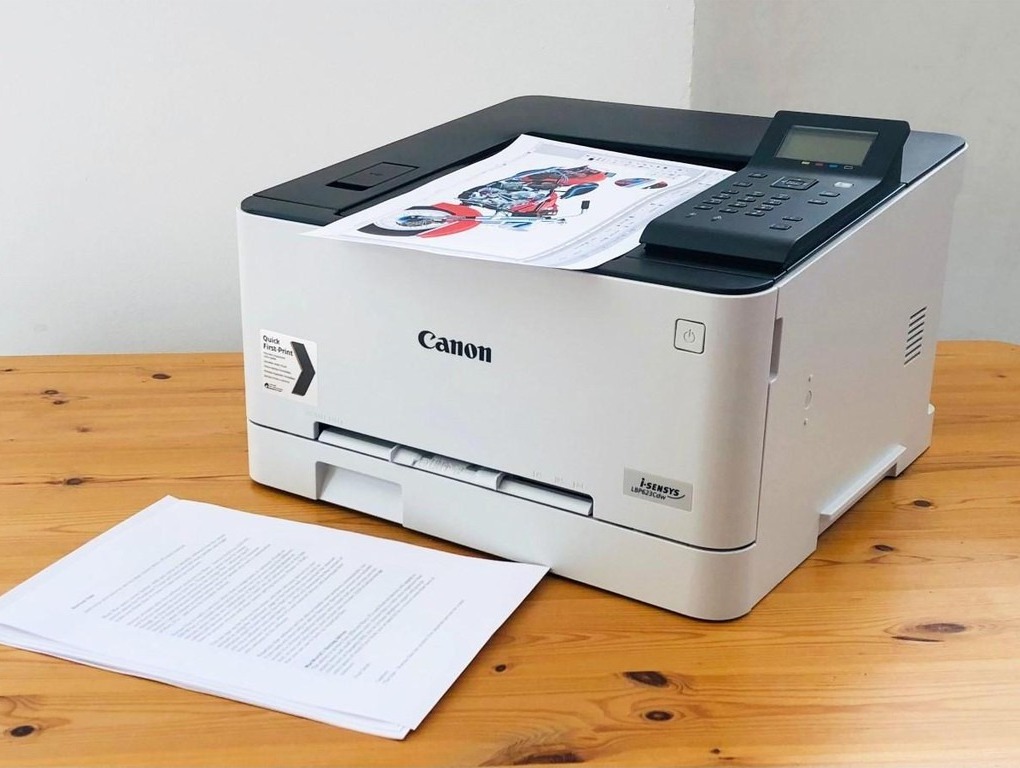
Setting up a new Canon printer typically involves several steps, but the first one is usually unpacking the printer and its accessories carefully. Here’s a more detailed breakdown of what you should do:

Unpack the Printer

Remove the printer from its packaging and make sure to take out all the included accessories such as power cables, ink cartridges, user manual, and installation CD (if applicable).

Setup Power

Connect the power cable to the printer and plug it into a power outlet. Make sure the printer is turned off before connecting the power cable.

Install Ink Cartridges

Open the ink cartridge compartment and install the ink cartridges according to the instructions provided. Usually, you’ll need to remove the protective packaging from the cartridges and insert them into their corresponding slots.

Load Paper

Adjust the paper guides in the paper tray to fit the size of the paper you’ll be using. Then, load the paper into the tray.

Turn On the Printer

Press the power button to turn on the printer. The printer will initialize and may prompt you to perform an initial setup process, which could involve setting the language, country/region, date, and time.

Install Printer Drivers and Software

If you’re connecting the printer to a computer, you’ll likely need to install the necessary printer drivers and software. You can usually do this by inserting the installation CD that came with the printer or by downloading the drivers and software from Canon’s website.

What are the steps to connect a Canon printer to a Windows computer with ij.start.canon?

Here are the steps to connect a Canon printer to a Windows computer in a simple way:

  • 1. Prepare the Printer: Take your new Canon printer out of the box and plug it into a power outlet.
  • 2. Connect to Computer: If your printer has a USB cable, plug one end into the printer and the other into your computer. If it’s wireless, connect it to your Wi-Fi network.
  • 3. Install Drivers: Your computer might automatically install the necessary software. If not, go to your computer’s settings, find “Devices” or “Printers & Scanners,” and add the printer. Follow the prompts to install the drivers.
  • 4. Test Print: Once installed, try printing something from your computer to make sure it works.

How to connect a Canon printer to a Mac computer wirelessly?

Certainly! Here’s a simplified guide on how to connect a ij.start.canon to a Mac computer wirelessly:

1. Prepare the Printer: Unbox your Canon printer and set it up according to the instructions provided. Ensure it’s turned on and ready for setup.

2. Connect to Wi-Fi: Use the printer’s control panel to navigate to the Wi-Fi settings. Select your Wi-Fi network from the list and enter the password if prompted. Once connected, the printer will display a confirmation message.

3. Install Printer Drivers and Software:
– On your Mac, open “System Preferences” from the Apple menu.
– Click on “Printers & Scanners” or “Printers & Fax.”
– Click the “+” button to add a new printer.
– Your Mac will search for available printers. When your Canon printer appears in the list, select it.
– If your printer does not appear, click “Add Printer or Scanner” and follow the prompts to manually add the printer by selecting “Canon IJ” or “Bonjour” from the list of options.
– Your Mac may download and install the necessary drivers automatically. If not, you may need to download and install the drivers from Canon’s website.

4. Test Print: Once the printer is added, try printing a test page or document to ensure the connection is successful.

That’s it! Your Canon printer should now be connected to your Mac wirelessly, allowing you to print documents and photos without needing a direct cable connection. If you encounter any issues, refer to the printer’s manual or Canon’s support website for troubleshooting assistance.

Connecting a Canon printer to a smartphone or tablet

To connect a Canon printer to a smartphone or tablet, start by ensuring that your Canon printer supports mobile printing, which is common in most modern models. Next, download and install the Canon PRINT app from the App Store (for iOS devices) or Google Play Store (for Android devices) on your smartphone or tablet.

Then, make sure your printer is connected to the same Wi-Fi network as your mobile device. You can do this by accessing the Wi-Fi settings on your printer’s control panel. Once both devices are connected to the same network, open the ij.start.canon app on your smartphone or tablet. Follow the on-screen instructions within the app to add your Canon printer. The app should automatically detect your printer if it’s on the same Wi-Fi network.

Once your printer is added to the app, you can easily print photos, documents, and web pages directly from your mobile device. Simply select the file or content you want to print within the Canon PRINT app and follow the prompts to print. This wireless connection provides convenient printing capabilities from your smartphone or tablet to your Canon printer. If you encounter any difficulties, consult the printer’s manual or Canon’s support resources for assistance.

How do I connect my Canon printer to a Wi-Fi network?

  • Prepare the Printer: Ensure that your Canon printer is turned on and ready for setup. Check that it has a functional display panel or buttons for navigation.
  • Access Wi-Fi Settings: Use the printer’s control panel to navigate to the Wi-Fi setup menu. This may be labeled as “Wireless LAN setup,” “Network settings,” or something similar, depending on your printer model.
  • Select Wi-Fi Network: Within the Wi-Fi setup menu, select the option to connect to a Wi-Fi network. Your printer will search for available networks.
  • Enter Wi-Fi Credentials: Once the available networks are displayed, select your Wi-Fi network from the list. If your network is secured, you will need to enter the Wi-Fi password. Use the printer’s keypad or navigation buttons to input the password.
  • Complete Connection: After entering the Wi-Fi password, confirm the selection. Your Canon printer will attempt to connect to the selected Wi-Fi network. This process may take a few moments.
  • Verify Connection: Once the connection is established, your printer should display a confirmation message or symbol indicating successful Wi-Fi connectivity. You may also see a Wi-Fi signal icon on the printer’s display panel.
  • Test Connection: To ensure that the connection is successful, you can print a network settings report or perform a test print. Refer to your printer’s manual for instructions on how to do this.
Design a site like this with WordPress.com
Get started